11 Tips of Capturing Cityscapes
- Vikram Singh

- Jun 26, 2019
- 4 min read
Here are my 11 most valuable tips which you can use to take breath taking Cityscapes.

1. Determine your vantage point, then choose your lens
Wherever you plan to shoot helps abundantly in choosing your lens(es). Cityscapes are typically great with a wide-angle shot, but this can come from a wide-angle lens or even a telephoto lens, based on how far away you are from a scene. Sometimes using a wide-angle lens of a scene from a faraway vantage point will not bring viewers into your image if it seems too far away to get a feel for what you captured in your photo.
2. Look for Reflections
These can really make for some incredible looking images. Having a mirrored image that wasn’t Photoshopped can really add character to a photo and also allow your viewers to view your image longer and concentrate on just how you captured it. Reflections from one building that reflect back to another building or what’s happening in the sky is a very cool capture. It’s better if you’re able to really get close up on the building of focus and reflect off of it, vs. being a distance away. That closer perspective gives you an illusion that, if captured perfectly, can throw off your viewers – which is always fun to do!
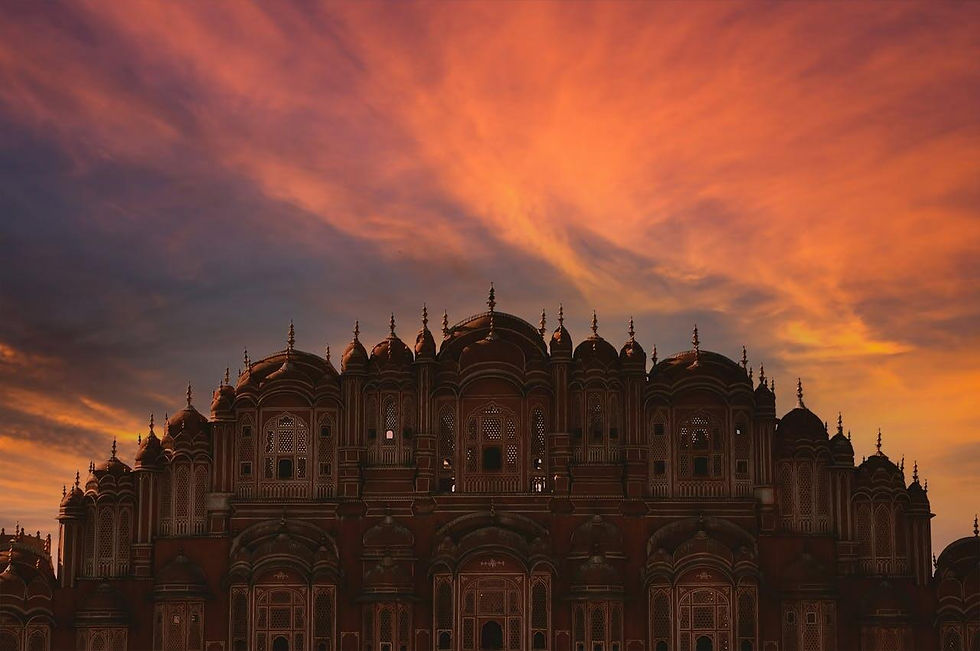
3. Be Attentive to Light
This is SO important! I have many photographers who come to me needing help on this, especially those who rarely, if ever, shoot with natural light. Sunlight is unpredictable and you have to follow its lead and be attentive to how the light falls off of buildings and reflects from them.
4. Use a Tripod when Needed
Depending on when and where you’re shooting, having a tripod can really make for a more impressive image. As light trails from highways and roadways in the foreground, it can add a more dramatic feel to your photo over a frozen still image.
5. Capture Different Angles
Sometimes we become so stuck in our routine way of doing things that we forget to think outside the box and be more creative.
Notice your surroundings. With cityscapes/skylines, you have a lot that’s around you and you must look out to see what’s near or far and how you can capture as many different angles as possible. Just looking straight up can have a great perspective or having the clouds above be seen reflecting off of a building to give a dramatic look, or even trying some funky angles that someone may think you’re crazy for taking but it ends up being a unique image.
6. Photograph in Aperture Priority
I know this angers a lot of photographers when I say this. Many are even angered by the fact that I, as a professional, photograph about 99% in aperture priority. I’ve hosted several photo walks across the country and attended a few as well and I’ve seen countless times people missing an image because they had to dial in the right settings. In a studio, photographing fireworks or something then yes... manual is certainly what I’d go with, but for cityscapes, aperture priority is your best friend.
7. Get to Heavily-Trafficked Areas Early!
This should be common knowledge. Numerous photographers will be planning their sights on the same location you are and getting positioned in that perfect spot. Sometimes I’ve arrived at a location four hours ahead to secure my spot. Make sure you’ve visited the potty, have some snacks and something to keep you busy while you wait – as you don’t want to leave your spot!
8. Manual Focus for Sharper Results
Cameras autofocus quite well, but sometimes it could be that ever-so-slight miss and your image isn’t tack-sharp. If you’re on a tripod, you’ll be able to pinpoint your focus by manually focusing. If you’re hand-holding then you’ll have to rely on your cameras autofocusing.
Making sure you have the exact perfect image lined up and focused properly is good for those epic cityscape images that you may want to blow up and sell.
9. Inclement Weather is a Winner
Mother Nature can add value to a composition. Maybe capturing that perfectly-timed lightning bolt or even low-flowing fog across the buildings. Don’t be afraid to go out if the day you planned to photograph turns out to have a few weather changes. Make sure your camera equipment is weather resistant and has a cover as to not get damaged in any way.
10. Bracketing Can Help Even More
All cameras perform differently and capture different levels of dynamic range. If your camera isn’t the strongest in that area then bracketing can overcome any shortcomings of your camera.
Later on, in post-production, you can mask images together for combining highlights in one image to the shadows in another to balance your image accordingly and obtain that properly exposed image. You can determine your exposures and how many brackets you’d want to use.
11. Be Creative in Post-Processing & Don’t Forget to Photograph in RAW
Make your photo your own! There’s so much you can do with a RAW file in post-processing. Try different things to bring an already great photo to be even more creative with post-processing. Just don’t go overboard and ruin your image with too much editing.


Comments